Getting Started with clawfoottubrestoration.com
If you want to restore a clawfoot tub, the first question is how this site helps you start without wasting time or damaging the tub. Getting started with…
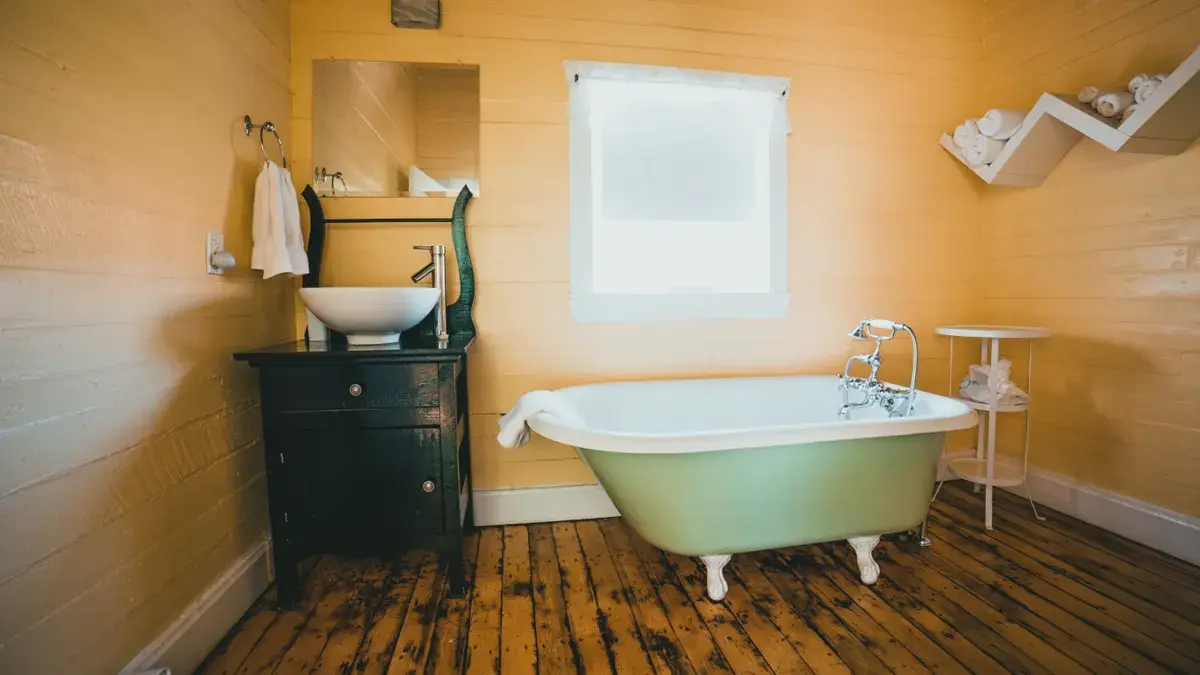
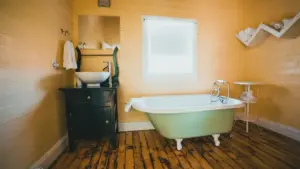
Clawfoot tub in a bright bathroom
Last updated: November 11, 2026
Key Takeaways
- A sound shell, mostly surface damage, and preserved details make restoration worth considering.
- Check material, damage level, and the drain, feet, and overflow parts before you decide.
- Start with the problem you actually have: damage, wear, or a full restore.
- Beginners often chase color and gloss and miss prep, damage, and use conditions.
If you want to restore a clawfoot tub, the first question is how this site helps you start without wasting time or damaging the tub. Getting started with clawfoottubrestoration.com means using it as a practical guide from worn finish to a usable restoration plan. The steps below settle what to look for, what to skip, and what you still need before you commit. In one place, you can narrow the job to one of three paths: repair, refinish, or full restoration.
What you should expect from getting started with clawfoottubrestoration.com
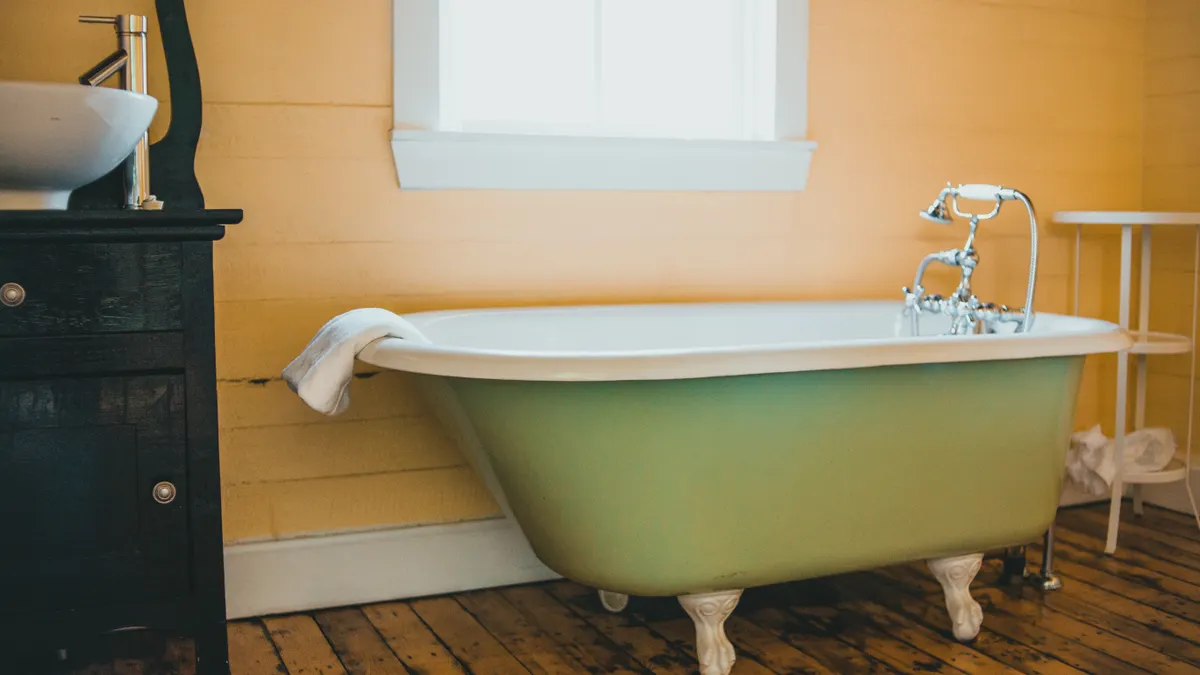
Getting started with clawfoottubrestoration.com should help you move from “my tub looks rough” to a real restoration plan, not just a vague idea. That means you should look for clear guidance on tub condition, finish types, repair limits, and whether the job needs a refinish, repair, or full restoration.
I write about tub and surface restoration as a trade subject, so I look for the same things a homeowner misses on the first pass: rust, enamel failure, prior patch work, drain condition, and the cost of doing the prep right. If the site does not explain those basics in plain language, it is not helping enough. In bathroom refinishing, prep can account for much of the labor, and skipping it can shorten the life of the finish.
- Look for condition guidance. A good restoration site should help you sort cosmetic wear from structural problems.
- Look for process clarity. You want to know what gets repaired, what gets stripped, and what gets coated.
- Look for limits. If the tub has deep rust, old filler, or bad previous coatings, the site should say so plainly.
A useful starting point is a site that explains what can be saved and what should be replaced. Not every clawfoot tub is a refinish job. The U.S. Environmental Protection Agency notes that lead-safe work practices matter in older homes, so older finishes should be handled carefully. See the EPA’s Lead Renovation, Repair and Painting program for general safety guidance.
How do I know if my clawfoot tub is worth restoring?
Your tub is worth restoring if the shell is sound, the damage is mostly surface-level, and the fixture still has the shape and details you want to keep. If the body is badly cracked, warped, or rusted through, restoration may cost more trouble than the tub is worth. In practical terms, a tub with surface chips is a different case from one with rust-through or repeated failure.
Here’s the catch: old clawfoot tubs can look worse than they are, and some can look fine while hiding serious enamel loss. The site should help you identify both problems before you spend on materials or a contractor. According to the EPA, older coatings can carry lead-related risk, so condition checks matter before sanding or stripping. For lead-safety basics, see the EPA’s lead information for homeowners.
- Sound shell: No major flexing, splitting, or holes.
- Surface damage: Chips, dull enamel, stains, and worn finish are usually workable.
- Bad sign: Rust that has eaten through the metal is a different problem.
- Bad prior work: Thick, peeling coating often means the surface will need serious prep.
If the site shows before-and-after examples, read them for the repair pattern, not just the shine. A glossy finish can hide weak prep. Bad idea.
What should I look for before I call a restorer?
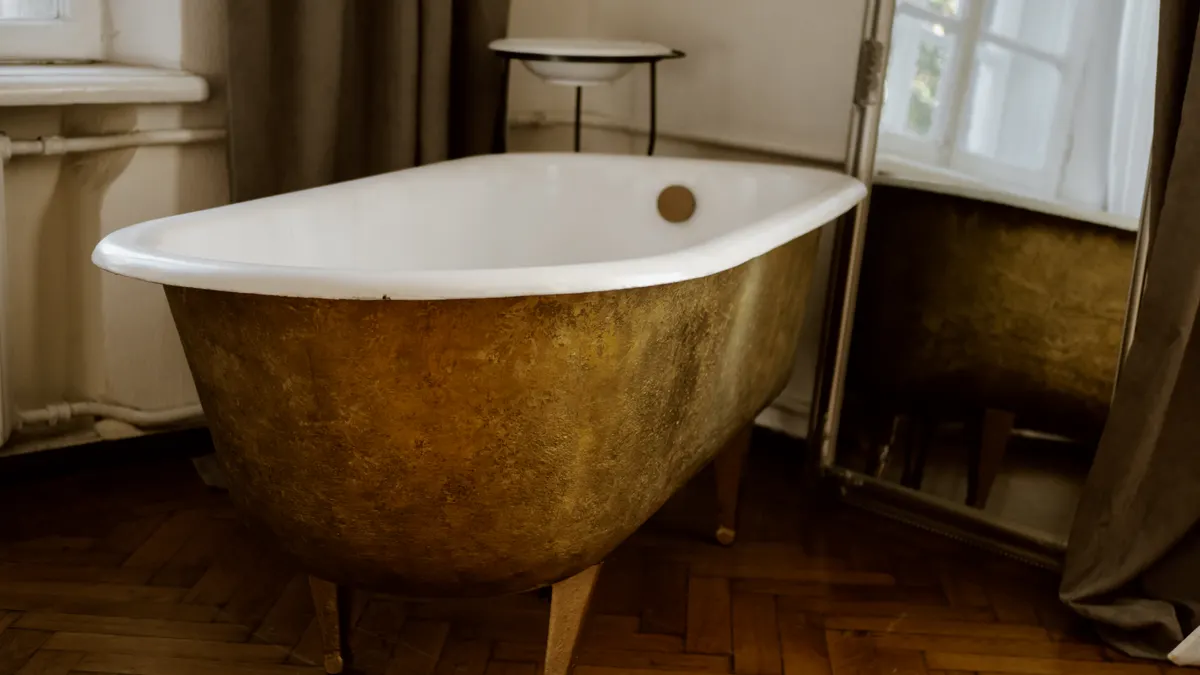
You should look for the tub’s material, the extent of damage, and whether the drain, feet, and overflow parts are still in good shape. Those details change the labor, the prep, and the final result.
A cast-iron clawfoot tub often needs different handling than a lighter steel tub, and old plumbing parts can slow the job down even if the tub body looks fine. If the site offers a prep checklist, use it before you ask for an estimate. The National Association of Home Builders notes that bathroom projects can vary widely by scope, so a clear checklist helps keep the job from expanding.
| Checkpoint | Why it matters | What to note |
|---|---|---|
| Tub material | Affects repair and coating approach | Cast iron, steel, or unknown |
| Enamel condition | Shows how much prep is needed | Chips, dulling, bare metal |
| Rust level | Indicates hidden damage risk | Surface rust or deep rust |
| Drain assembly | Can delay the job | Old, stuck, or leaking parts |
| Feet condition | Impacts handling and stability | Loose, cracked, missing |
| Previous coating | Affects adhesion | Peeling, thick, or uneven finish |
If the site gives you a form or inquiry checklist, fill it out with photos from the top, sides, drain area, and feet. A few clear pictures save a lot of back-and-forth. Before you contact anyone, measure the tub length and width; those numbers help with pricing and parts.
How do I use clawfoottubrestoration.com without getting confused?
You use it best by starting with the problem you actually have: damage, wear, or planning for a full restore. If the site is organized well, it should point you to the next step instead of making you guess where to begin.
The first page you need is the one that explains what restoration includes and what it does not. After that, move to any pages about repair limits, surface prep, and finish options. That order matters because people often jump straight to the pretty finish and skip the ugly part that decides whether the job lasts. For a homeowner, the repair sequence matters more than the final color.
- Identify the tub’s condition. Start with what you can see.
- Check the repair limits. See what the site says can be fixed.
- Review the finish options. Look for the practical differences.
- Gather photos and measurements. Have them ready before you ask for help.
- Ask about prep. Prep is where many jobs succeed or fail.
The site is doing its job if it helps you make a sane decision in one visit. If you have to read three pages just to learn whether your tub is even a candidate, that is a sign the content is thin. A clear path should save time, not add confusion.
What does a beginner get wrong about clawfoot tub restoration?
A beginner usually focuses on color and gloss, then ignores damage, prep, and use conditions. That is backwards. The finish matters, but the shell, the repairs, and the cleaning routine decide how long the result holds up.
Another common mistake is assuming all restoration is the same. A tub with a few chips needs a different approach than one with rust at the rim, failed caulk, and a worn-out drain. If the site talks as if every tub follows the same path, be careful. In other words, one tub may need only cosmetic work while another needs hands-on repair.
- Mistake one: Choosing based on appearance alone.
- Mistake two: Skipping rust repair because it looks small.
- Mistake three: Not checking the drain or overflow.
- Mistake four: Ignoring how the tub will be cleaned after restoration.
The best sites are honest about maintenance. A restored tub is not a one-and-done object; it needs gentler cleaning than a raw old tub with no finish at all. That is not a flaw. It is the price of keeping the surface intact. Mild cleaners and soft cloths are a better fit than abrasive pads.
What makes a good restoration result last?
A good result lasts when the prep is right, the repairs are stable, and the tub is cleaned with non-abrasive products after the work is done. That is the short version, and it is the part people skip because it feels less exciting than the final look. According to the EPA, safer surface work depends on careful prep and cleanup, especially in older homes.
A proper restoration should start with a clean, sound base. If the site mentions stripping, sanding, patching, priming, or coating, those steps matter more than the final polish. Each one has to support the next. The National Institute of Standards and Technology has long emphasized that surface preparation affects coating performance, which is why the base matters more than the shine.
| Factor | What you want | What goes wrong |
|---|---|---|
| Surface prep | Clean, dull, ready to bond | Peeling later |
| Repair quality | Stable patching | Cracks or soft spots |
| Coating choice | Fit for bathroom use | Early wear |
| Cure time | Enough time to harden | Marks, scratches, failure |
| Cleaning method | Mild, non-abrasive | Dulling or etching |
Surface prep should be treated as a step you verify, not a guess. If you are unsure whether a repair is safe, consult a professional and follow the coating manufacturer’s instructions and the EPA’s Renovation, Repair and Painting guidance. A site worth using should not pretend every finish is equally durable. Some coatings need more care, and some repairs are only as good as the prep underneath them. That is where the real value lives.
The honest verdict on starting with clawfoottubrestoration.com
Start there if you want a practical guide to whether your tub can be saved, what the work should include, and what kind of prep a real restoration needs. If the site gives you clear condition checks, repair limits, and next steps, it is useful. If it only shows polished results and skips the hard parts, it is not enough. A page that tells you what to inspect in five minutes can still save a bad decision.
Choose getting started with clawfoottubrestoration.com if you have a clawfoot tub with visible wear, surface damage, or a finish that needs a plan. Choose a local restoration pro first if the tub has severe rust, leaking plumbing, or structural damage. Neither path helps if the tub is already unsafe or the damage is beyond a normal refinish. A hands-on inspection is the right move when the damage is hard to judge from photos.
The best use of the site is as a filter. It should help you decide whether your tub is a real restoration candidate before you spend time or money.
Questions people ask before they start
Is clawfoottubrestoration.com for DIY or pro help?
It can be useful for either, but the best starting point is usually the same: figure out the tub’s condition first. If you are doing the work yourself, you need to understand prep and repair limits before you buy materials. If you plan to hire someone, the site should help you ask better questions. The right choice often comes down to whether the damage is cosmetic or structural.
What photos should I have ready?
You should have clear photos of the full tub, the rim, the inside, the drain, the overflow, and the feet. Those views show wear patterns that a single glamour shot will hide. If there are chips or rust spots, include close-ups. Good photos can reduce back-and-forth by one full round of questions.
How do I know if the damage is too far gone?
The damage is probably too far gone if the tub has deep rust-through, major cracking, or repair work that keeps failing. A site like this should help you separate old surface wear from structural problems. If you are unsure, that is the point where a hands-on inspection matters. For older tubs, a pro can confirm whether the shell is still sound.
What is the biggest mistake people make?
They chase the finish before they deal with the base. A shiny topcoat cannot save bad prep, loose repairs, or a compromised tub shell. If the site makes the finish look like the whole job, it is leaving out the hard part. The finish is the last step, not the first decision.
Drafted with AI; not yet reviewed by a person.

2 thoughts on “Getting Started with clawfoottubrestoration.com”